Many injuries can occur during skiing, of which the ski thumb is one of the most common. It is an acute trauma to the thumb joint, often a long-term and annoying injury. In the case of a skier’s thumb, the ligament of the knuckle joint (MCP-I joint) on the inside of the thumb is stretched, slack or torn. This injury can also occur during ball games, when the ball hits the thumb at high speed. The symptoms can also occur following a trauma (accident or fall).
“Game keepers thumb” is the chronic form of a skier’s thumb, usually caused by prolonged, repetitive movements of the thumb. This causes the capsule to stretch, the thumb joint to become unstable and wear out.
Symptoms of a skier’s thumb:
- Unstable feeling of the knuckle joint.
- Loss of strength.
- In the event of acute trauma, swelling and/or discolouration is visible.
- Pain on the inside of the thumb at the coccyx joint (where the thumb begins) and when moving the thumb.
Get started with these items to tape skier’s thumb
-
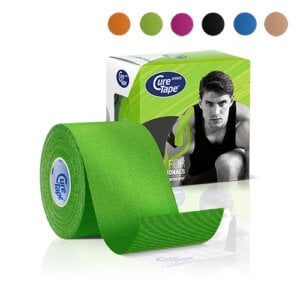
CureTape® Sports Kinesiology Tape
 $12.95
In stockSelect options This product has multiple variants. The options may be chosen on the product page
 -
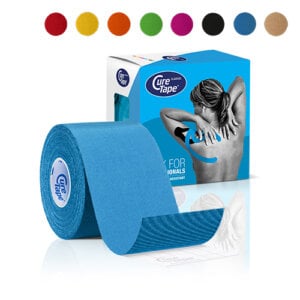
CureTape® Classic 2″ kinesiology tape
 $12.95
In stockSelect options This product has multiple variants. The options may be chosen on the product page
 -
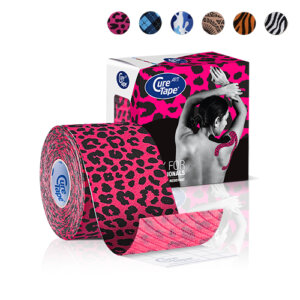
CureTape® Art kinesiology tape 2″
 $13.95
In stockSelect options This product has multiple variants. The options may be chosen on the product page
 -
CureTape® High Quality Scissor
 $20.00
Out of stockRead more
How to tape with CureTape for a skier’s cleft
If the ligaments of the thumb joint are torn, surgery is necessary. In the event of instability, arthritis, a tear or a strain, CureTape can be applied in addition to the therapeutic treatment in order to reduce the pain and promote the recovery process. Below is a step-by-step explanation of how this injury can be taped using two strips of CureTape.
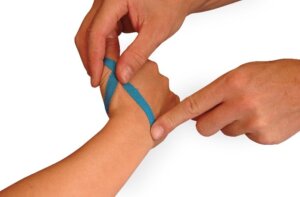
Professional instructions
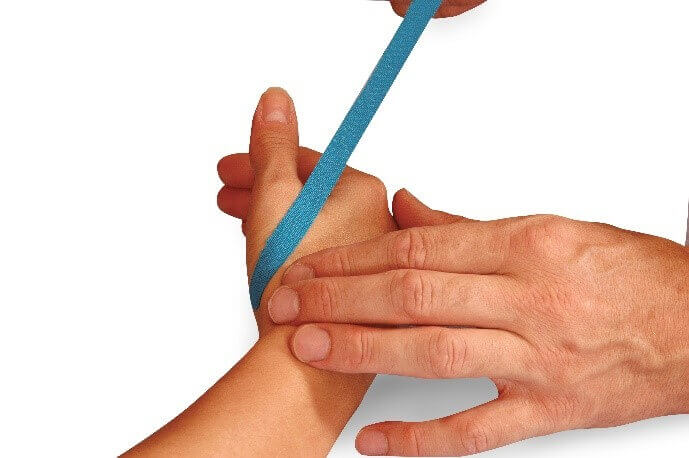
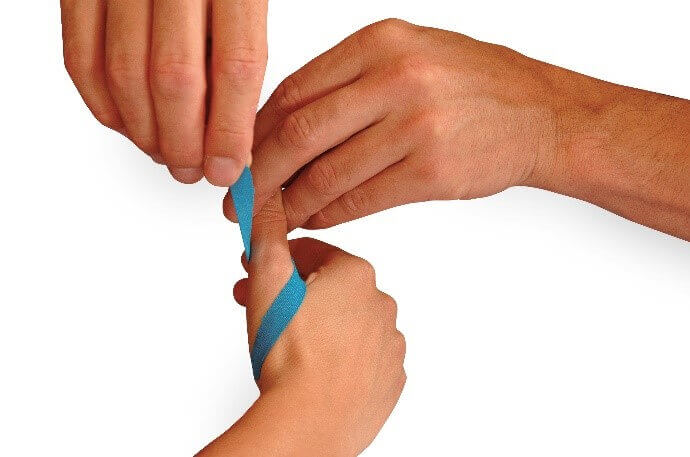
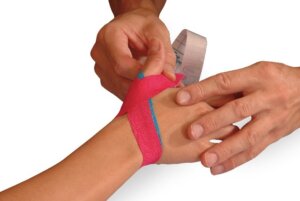
First strip: Cut a strip 0.2″ and about 6 to 8 inches long or use the CureTape Cutter to cut 5 even strips from a standard 2 inch roll. Apply the base of the first tape, without tension, to the radial side of the thumb. Then use the ligament technique and make a cross over the medial side of the first MCP joint, ending on the dorsal side.
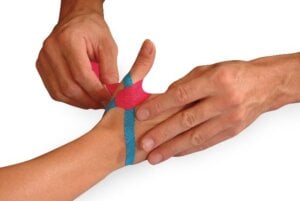
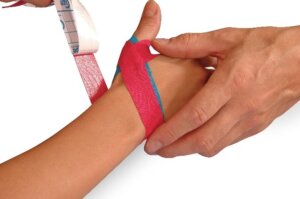
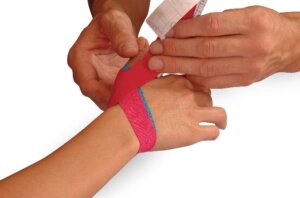
Second strip: Cut a strip of 1.4 to 2″ wide and about 8-10 inches long.
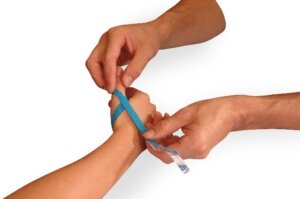
Apply the base without stretching to the inside of the first MCP joint. Then apply the tape with a slight stretch over the palmar side of the thumb towards the lateral side, then over the dorsal side of the thumb in the direction of the back of the hand. Finally, over the base of the fifth metacarpal to the palmar side of the hand joint back to the base of the metacarpal phalange (MCP)1. The tape strip forms an 8.
Instructions for self taping (non-professionals)
First strip: Cut a strip 0.2″ and about 6 to 8 inches long Apply the first tape without pulling too tight to the thumb’s side. Then, use the tape to make a cross over the joint closest to the thumb, ending on the back of the hand.
Second strip: Cut a strip of 1.4 to 2″ wide and about 8-10 inches long. Apply the tape without stretching to the inside of the thumb joint. Then, gently pull the tape over the palm side of the thumb towards the side of the hand, then over the back of the thumb towards the back of the hand. Finally, wrap it around the base of the fifth finger bone to the palm side of the hand joint and back to the base of the thumb joint. The tape should form a figure-eight shape.

Christina’s advice when taping your hand
When taping your hands, it’s crucial to choose a tape that provides strong adhesion and support. That’s why I recommend CureTape kinesiology tape. Because tape is applied on the hand, it may come off sooner due to sweat or friction. Therefore, opt for our extra sticky CureTape Sports tape variant!
Learn how to tape
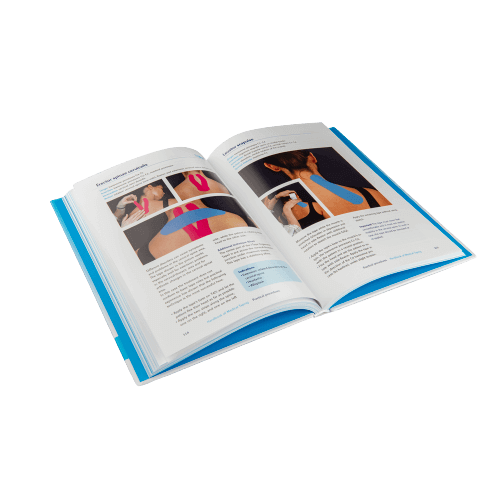
Want to learn how to apply tape yourself*? Check out our manuals on taping:
- The Ultimate Taping Guide: Focuses on self-taping for the 30 most common injuries where taping provides support.
- Kinesiology Taping Method Manual: Designed for (para medical) professionals, covering basic taping techniques and various pathologies.
What are you waiting for? Order a copy today!
THYSOL is the manufacturer of the kinesiology tape brand CureTape. As CureTape, we have been training and supplying professionals for 25 years. And consumers now know how to find us too! By manufacturing all our tapes in our own factory, we can guarantee the best quality!
Please note that the indicated tape applications and information on our website about the possibilities with kinesiology tape have not yet been scientifically proven. The statements and examples mentioned are based on long-term experiences of patients and trained therapists.Contraindications not to tape: pregnancy, open wounds, broken bones, unexplained complaints, allergies and skin diseases, use of medication such as blood thinners, thrombosis and fever. Always apply tape in consultation with a specialist.


